

 Nederlands
 Deutsch
Change speaker cloth
Cats, children and other loved ones or visitors can do all kinds of damage to hi-fi equipment. This also applies to the protection of the loudspeaker unit: the screen on the front.
Now someone will think: "but that is not so difficult". Now, it's not that hard to do it just as smoothly as to see next. But I want to do this job well.
We are going to do this in steps.
We won't do it that way:
We will do it this way:
1. We buy the required products:
1. Glue that is not liquid, but spreadable like butter. The plastic speaker cloth must be resistant to the glue. In the Netherlands we have Bisontix for this. "Sticker Remover" to remove adhesive residue (see Google).
2. Speaker cloth - please take real speaker cloth. You can get speaker cloth or have it sent to various electronics stores such as Conrad for example.
3. Wooden clothes pegs.
4. Sharply degradable (Stanley) knife.
5. Metal ruler or something else straight of metal of at least about 15 cm. long.
2. We remove the old cloth. You can optionally use a knife. If the speaker cloth is glued to a wall, you can, for example, use "Sticker Remover" carefully.
fold in the canvas? ironing.
N.B: The cloth usually has two sides. The dull fine-meshed side is towards the units. The glossy side with a rougher structure is for the outside.
3. We cut the canvas to the right size. You can cut well, it will go off again. Possibly take a tailor's piece of chalk to measure things.
Is the canvas completely smooth? Isn't that true: ironing. For the men (or women) who have never taken up this tool: do not set this tool for nylon too hot (!). The more modern irons have a stand for nylon.
4. We glue the front. Preferably glue the front with a shared wooden clothespin over a strip of approximately 1 cm. A bit wider strip is not such a problem, too much glue can be removed later with Sticker Remover. First glue the front, because this dries slower than the glue on the cloth.
5. Now glue the cloth. The advantage of spreadable glue compared to liquid glue is now a convenience: with moderate use, the glue does not penetrate the cloth. A wide strip of glue is no problem, you do not see this (if used moderately as on the photo). Expect the cloth to stretch around 5%. That means a cloth on a front of 20 cm. wide about 21 cm. becomes wide. The length of the fabric can be measured on the side of the front with a measuring tape. This can be turned off again on the canvas. But the easiest way is simply to apply a thin layer of glue to a large broad strip with the half clothespin.
6. Wait approximately 5 to 10 minutes before pressing the cloth. Start by sticking in the middle of the long side. Also stretch the canvas slightly in the direction that you are sticking. So not only on the short side, but also on the long side, something on racks, so that folds do not appear in the canvas like in the photo. Work from the inside out. Paste the center first. Then a little to the left of the middle. Then a little to the right of the middle. Continue until the entire side is stuck. NOTE: approximately 5 cm. do not press from the tip of the corner, we will do that later.
You now press the other long side of the canvas in the same way. Do not pull the fabric too tightly, we will do more tensioning on the short sides. Approximately 5 cm at each corner of the speaker front. keep free. Stretch the fabric on the short sides. Don't overdo it too hard, that's not necessary (unless you really want to protect the units against children's fingers)
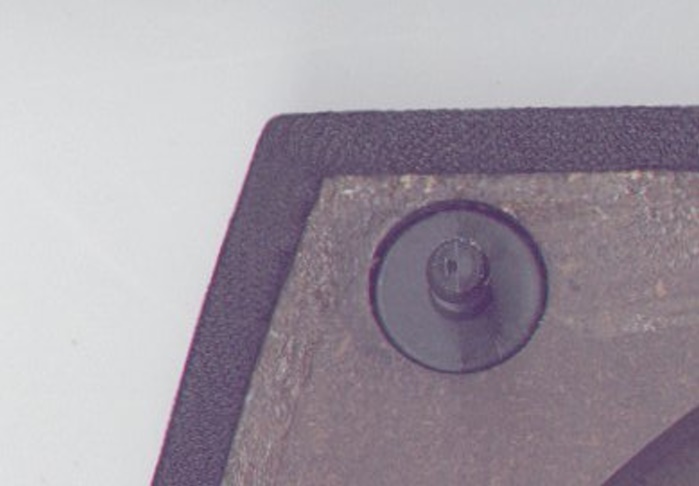
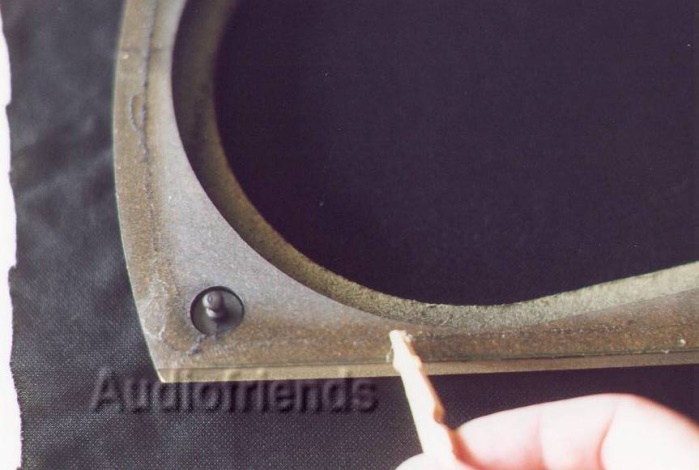
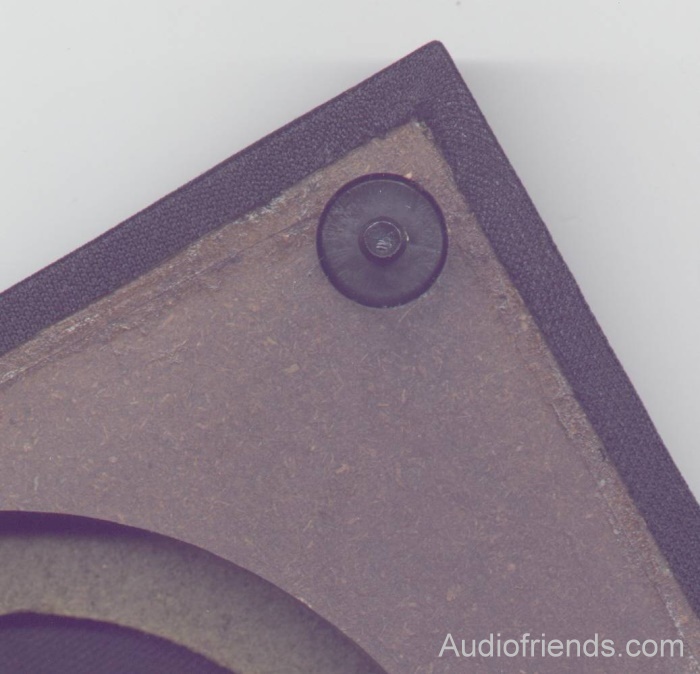
7. You stick the corners. And this only with a finger width, exactly in the corner.
8. Now comes the trick. Pull the canvas aside with one hand. The screen shrinks together in the corner, and that doesn't give a good result. The intention is to spread the excess cloth in the tip over the 5 cm. left free on the sides.
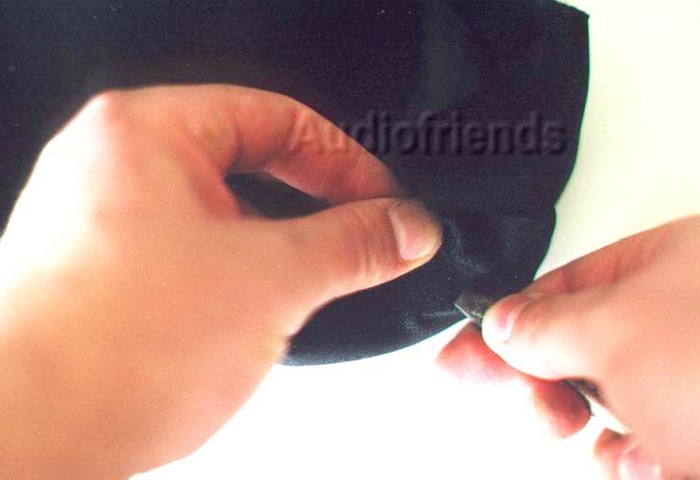
With the other hand you press the cloth in the right place with some force with a broad screwdriver. The intention is to divide it too much on canvas, so that there are no folds. Do this at every corner.
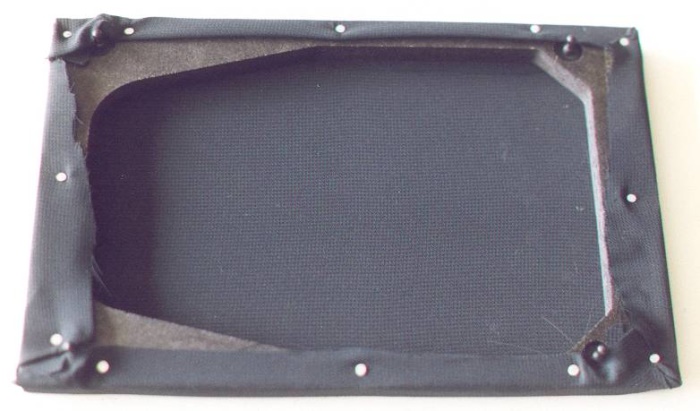
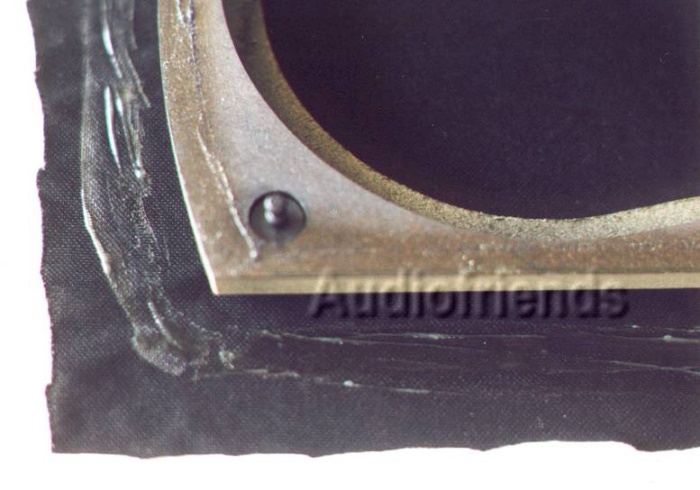
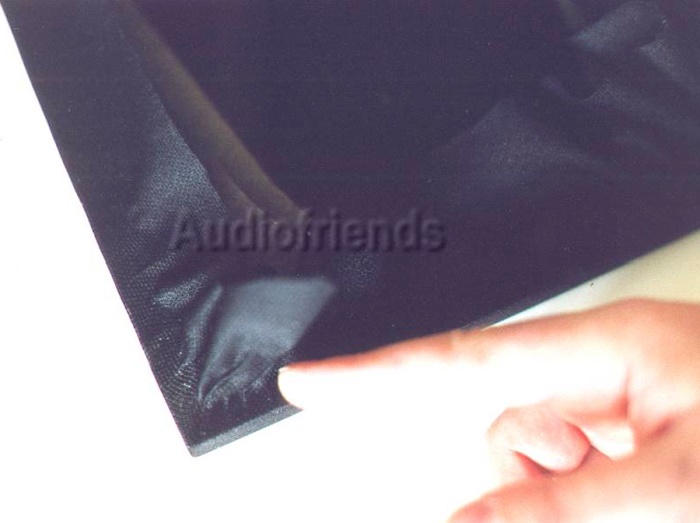
This is how it should look:
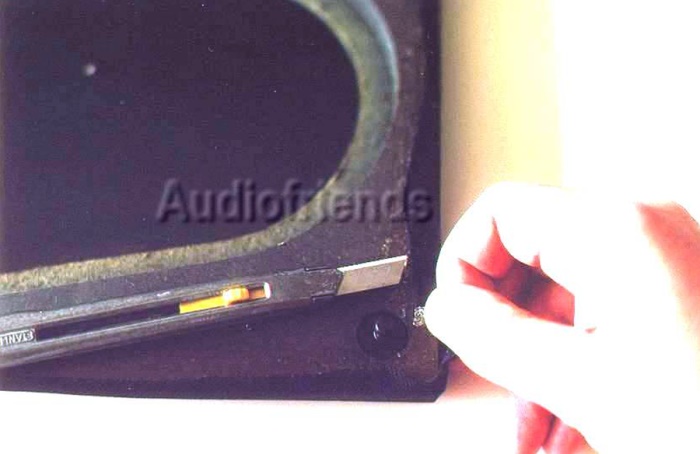
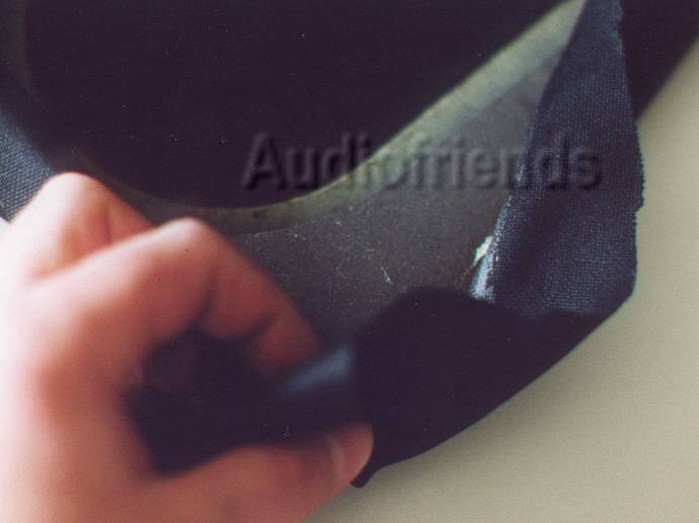
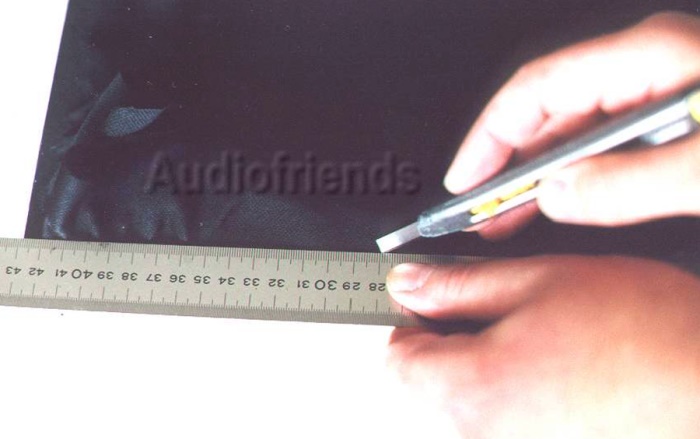
9. We are going to cut the cloth. You can optionally give a dimension line with a ballpoint pen. Then place the metal ruler along the dimension line, and cut with the knife (watch your fingers!). If the canvas has a width of at least 5 mm. is glued, it is sturdy.
Do not work all the way to the corners, but stop approx. 1 cm. for the corner. Do the long and short sides first, and then work from any angle towards the long or short side. If you shoot something out, the cloth will not be damaged.
10. We will now strip the canvas. Do it carefully, it is possible that the cloth is not completely cut well, and you still have to work with the knife.
You can optionally remove the adhesive residue with Sticker Remover. Be careful not to touch the cloth. The glue is often so soft that the glue can also be removed with scratching or stuffing.
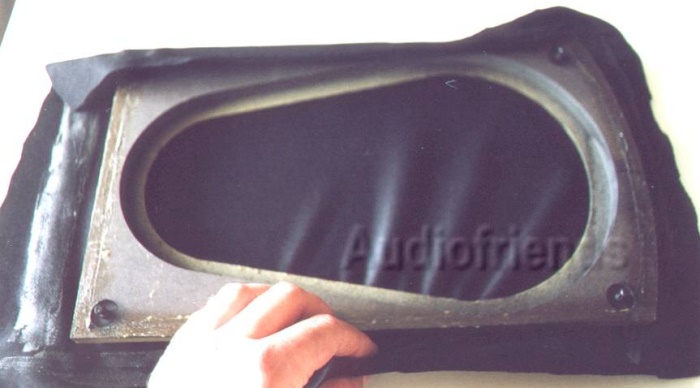
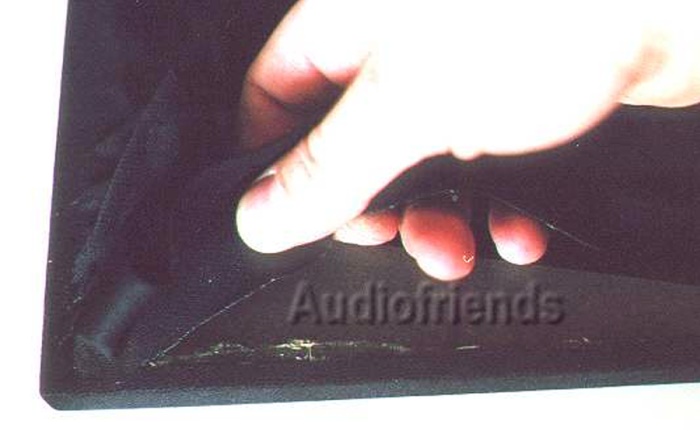
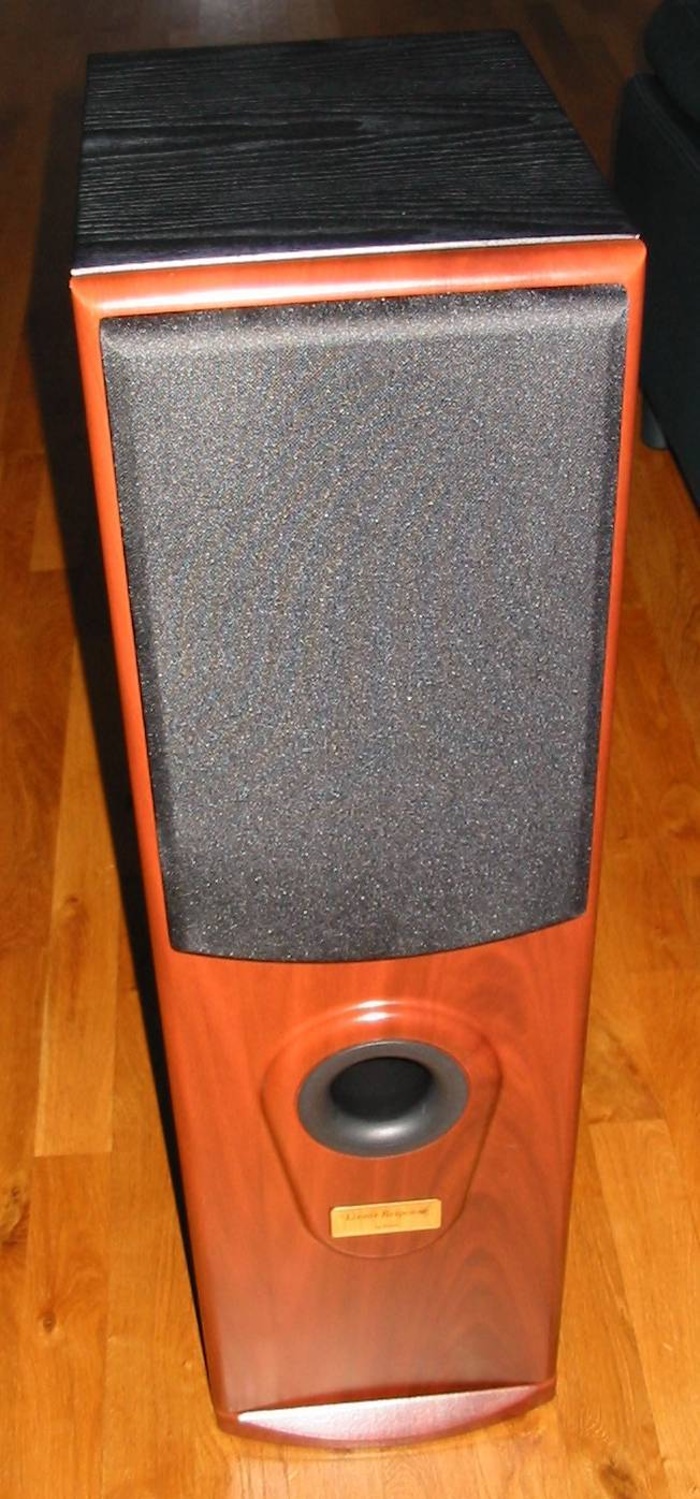
If you've done well, the front now look like this:

Success!